Cavity wall insulation – installation process for bonded bead insulation.
Cavity wall insulation – installation process for bonded bead insulation.
Cavity wall insulation – installation process for bonded bead insulation.
Cavity wall insulation – installation process for bonded bead insulation.
The beads are moisture proof and allow or guide and moisture downwards, a process known as capillary action Beads have great lamda values and can then help you achieve the best U values. Architects are specifying cavities from 100mm to 200mm to be pumped with beads.
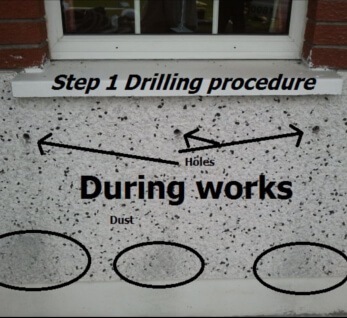
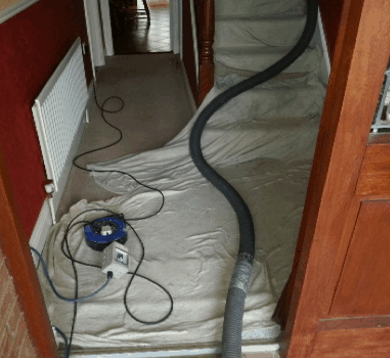
Firstly the home is drilled out to the manufacturer's drill pattern.
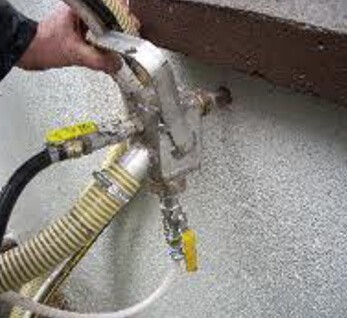
Now the cavity is pumped with insulation beads and sprayed with glue in the gun chamber and pumped into the wall.

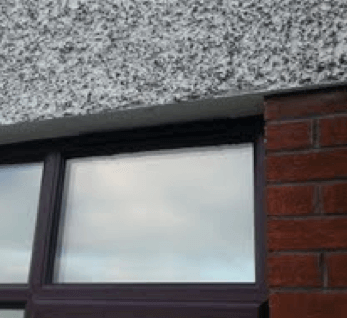
The drill holes that have been pumped are now pointed up with the same colours to blend in it with the house finish.
Using the right method and material will mean a warmer home and better BER certificate. One Cavity wall insulation bead is warmer than all the rest. Contact us and we will let you know the differences between methods and materials.
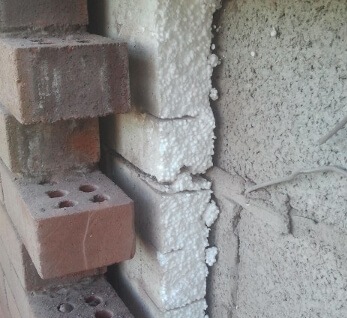
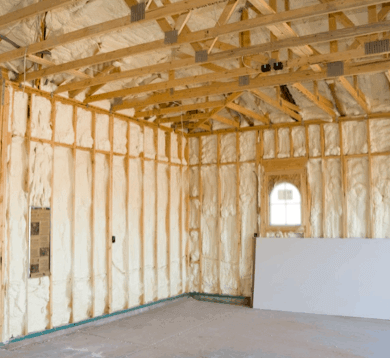
This is what a cavity wall insulation looks like when we have pumped and filled it.
Cavity Wall Insulation Boards do not work. Because you are using a smooth material against a rough material you will have gaps. The air moves through these gaps allowing the cold air to take away the heat from the block which then takes it from the house. Leaving cavities empty for pumping is the best option!
When you use the best materials you’re making the home more comfortable and energy efficient = you save more money!
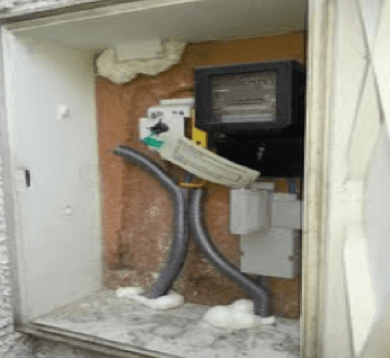
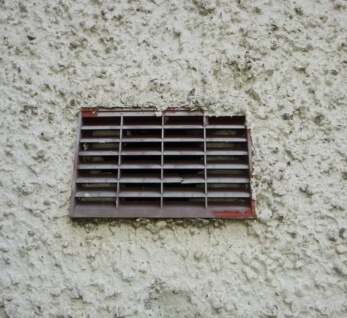
Seal the ESB box or any other openings in the walls so your system is perfect.
Double check all openings in the wall and ensure they were built to the standard – if they aren’t we will do some small reworks to ensure that there is no problems.
Advise on ventilation issues for the homeowner.
CONTACT
Energy Efficient Homes Ltd.,
The Crescent Building,
Northwood Business Park,
Santry Dublin 9Energy Efficient Homes Ltd.,
Drogheda Industrial Park,
Drogheda, County LouthTel: (1890) 909022
Dave's Mobile: (087) 975 0914E-mail: [email protected]
Get directions on the map →
ABOUT
Energy Efficient Homes Ltd. was created for people who want to improve the Energy Efficiency of their home or business. Our office is open 6 days a week to allow you to drop in and meet some of our highly experienced staff, who can demonstrate and explain the benefits of Insulation systems.